
The wait is finally over, and Legend of Zelda: Tears of the Kingdom is here. But let’s be real; even the bravest heroes need a little help sometimes. That’s where we come in with our general walkthrough guide to help you navigate the toughest parts of the game. Just a heads up, though, there will be spoilers ahead, so proceed at your own risk!
Tears of the Kingdom kicks off with a short tutorial sequence to get you up to speed. Even if you’re a seasoned Breath of the Wild player, you’ll want to pay attention and brush up on those controls.
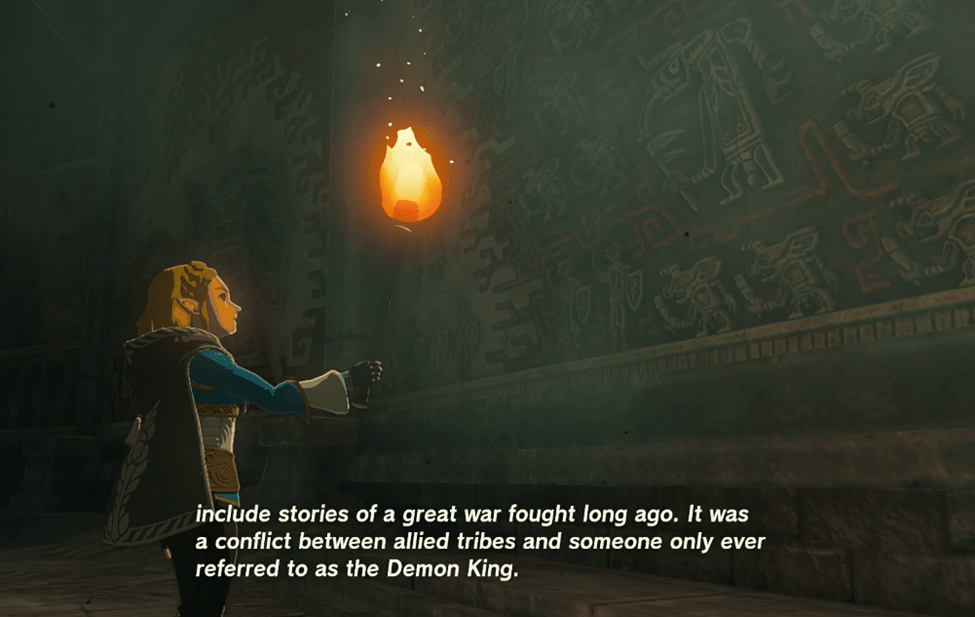
The first sequence of Tears of the Kingdom might not seem like much, but it’s the perfect warm-up to get you back in the swing of things. You’ll be reunited with Link and Zelda as you take on a couple of pesky bats with your trusty sword. But don’t worry, things get way more interesting in the cutscene that follows. Get ready for some serious exposition as Zelda takes the lead and spills the tea on the history of Hyrule.
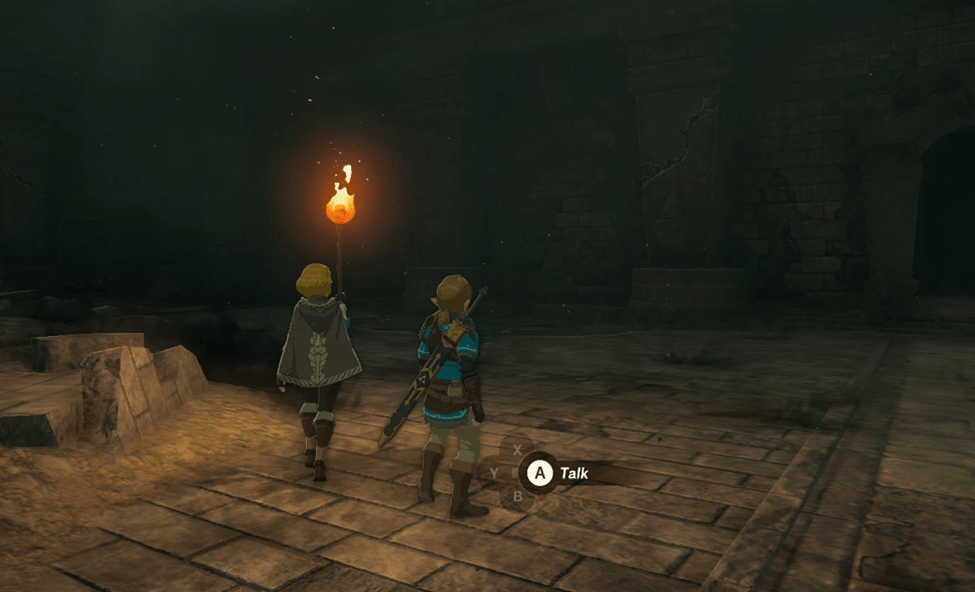
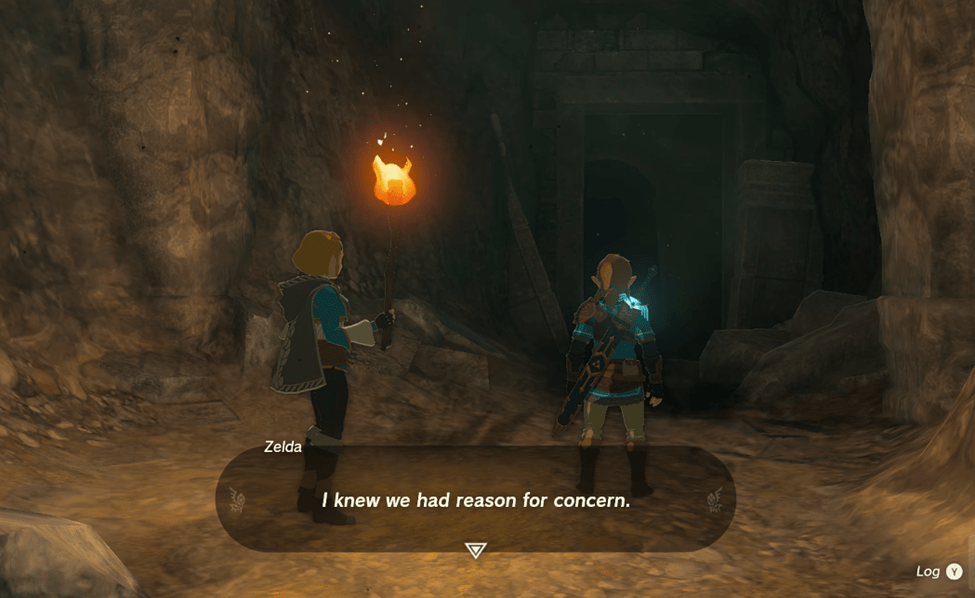
Once Zelda’s done with her storytelling, it’s time to move forward and face the darkness. As you make your way down the creepy temple hallway, you’ll notice some seriously ominous energy seeping from the cracks in the ground and walls.
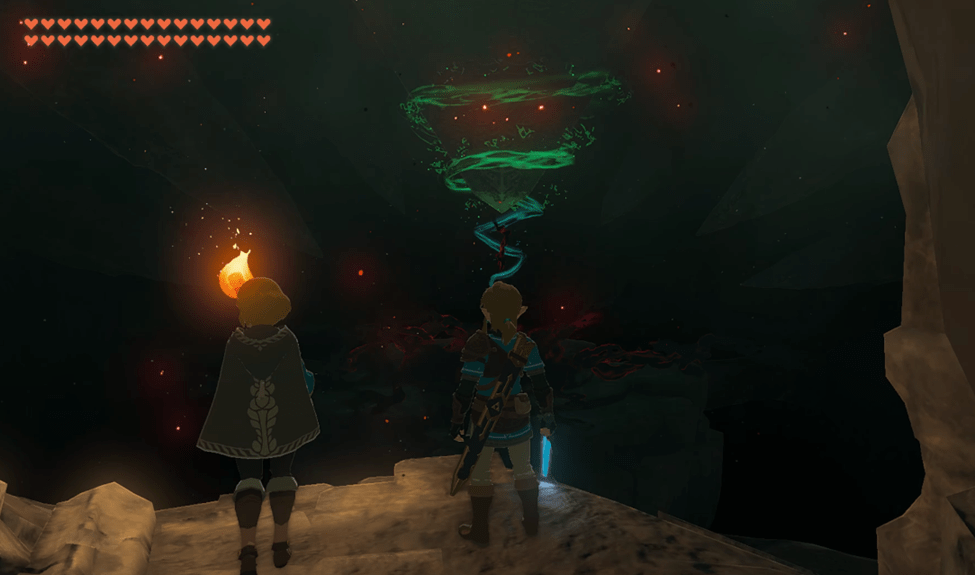
As you enter the large area with a creepy green light in the center, Zelda will warn you to be careful. But let’s be honest, you didn’t come all this way to play it safe, did you? So go ahead and move towards that ominous glow like the brave explorer you are. Trust us, it’ll be worth it when you trigger the cutscene and discover where that freaky light is coming from. We won’t spoil it for you, but let’s say you’re in for a jump scare or two.
After an epic earth-shattering cutscene (literally), Link finds himself whisked away to parts unknown while Zelda disappears into the darkness. But fear not, dear players, because Link is about to get a serious upgrade. Thanks to a mysterious voice and a new device on his arm, he’s basically Nintendo’s Winter Soldier now. Unfortunately, that massive HP pool you were used to is a thing of the past. I mean, come on, did you really think you could carry all those hearts over from Breath of the Wild? But don’t worry; the game does a pretty good job of explaining why you’re suddenly a weakling again.
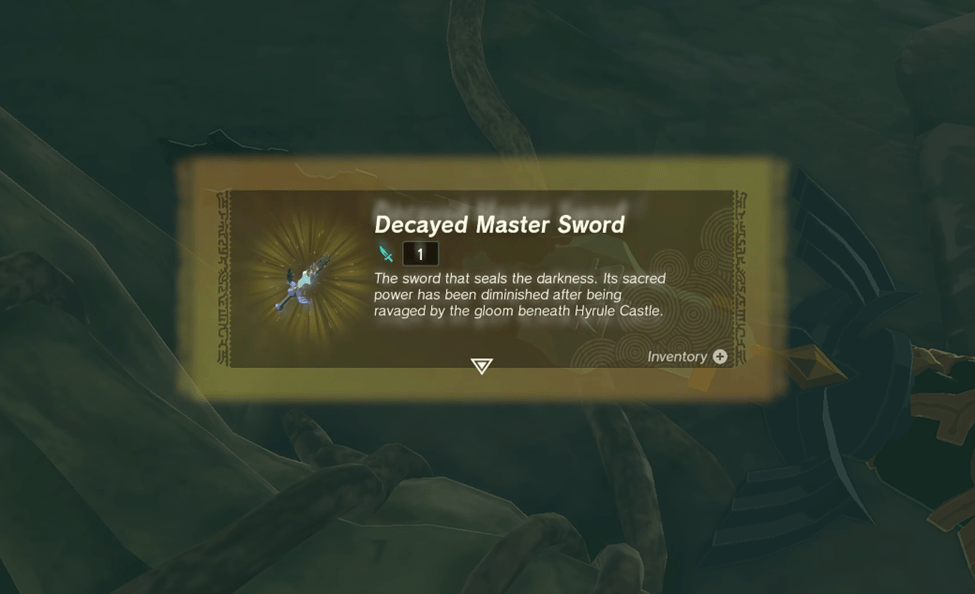
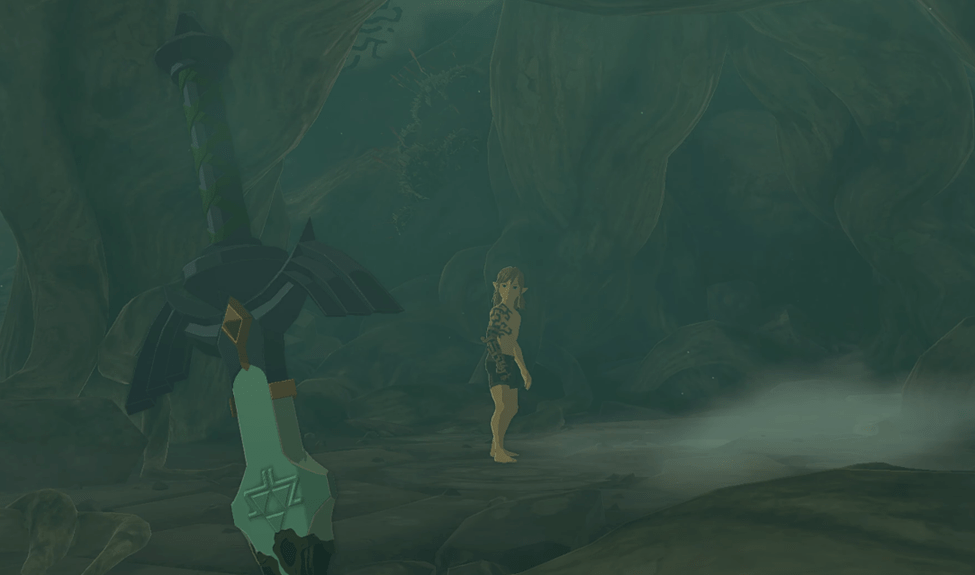
As you walk up to the sword and give it a closer look, you’ll be met with a sight that’ll crush the hearts of the most devoted Zelda fans. Brace yourselves, because what you’ll see is nothing short of a travesty: a decayed Master Sword. That’s right, folks, the one and only Master Sword has seen better days, and it’s all thanks to Nintendo. We know, we know, it’s a tough pill to swallow. But don’t worry, we’ll get through this together.
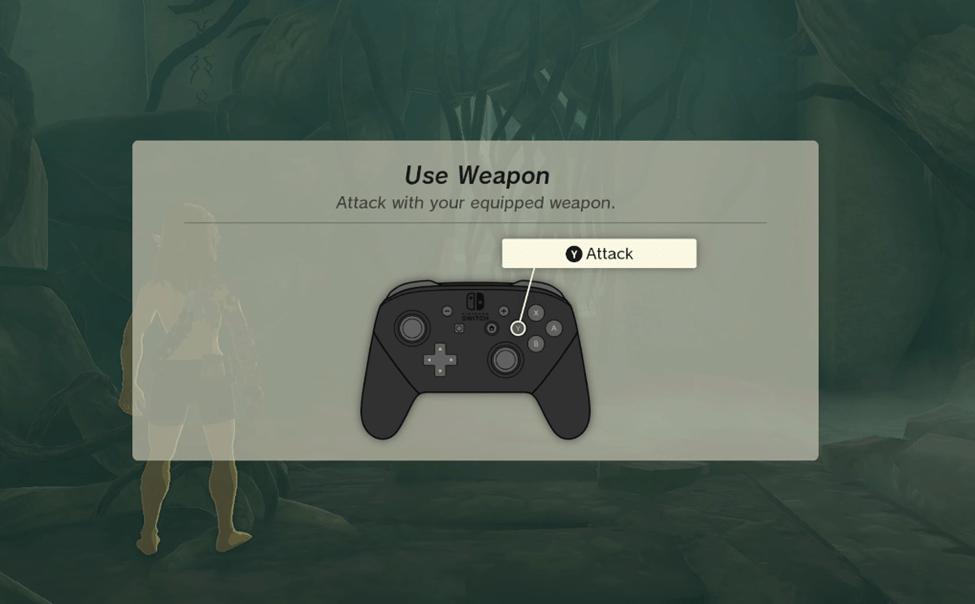
Unfortunately, the Master Sword is the only weapon you’ll have for the time being. But hey, don’t underestimate the power of a trusty sword, right? Follow the in-game prompt to teach you what you already know: how to attack. Hack away at those pesky roots that are blocking your way and make your way to the green circle up ahead.
Get ready for a short scene that’ll show you an open door up some stairs. Head on up and prepare to take the plunge into the water below. Climb up those rocks like a champ and continue on into another doorway, where you’ll jump into even more water. And just when you thought you were done with water, you’ll jump from an even greater height this time. But fear not, because this is all part of the game’s plan to teach you a valuable lesson: landing in water from a great height will save you from taking fall damage.

Once leave the water, you’ll probably be a bit cold. But fear not, because there’s a handy chest up ahead that’s just begging to be opened. And what’s inside, you ask? A pair of Archaic Legwear! Because let’s be real, the first thing anyone does in a dungeon is rummage through a chest to put on someone’s used pair of pants.
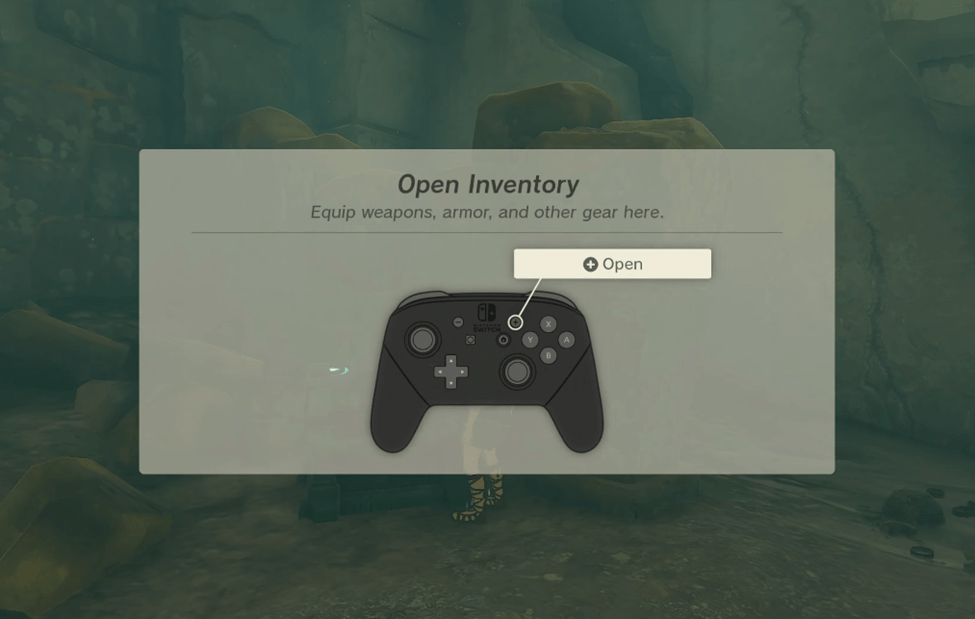
Follow the prompt to learn how to open your inventory to equip the Archaic Pants.
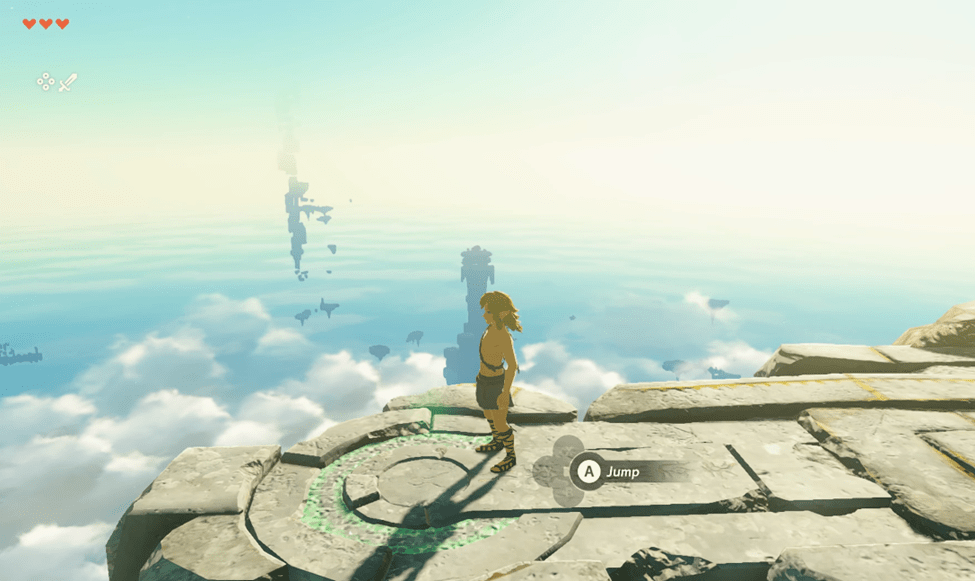
As you continue down the tunnel and emerge into the light, you’ll find yourself above the clouds with a stunning view before you. But before you get too caught up in the beauty of it all, there’s one dreaded realization that’ll hit you like a ton of bricks: you’re going to have to jump.
Now, hopefully, you learned from your past experiences that if you’re going to jump off a ledge half-naked, there better be some water down below. Trust us, it’s not a good look to be splattered all over the ground like a pancake. But don’t worry, this is a pretty beautiful drop we’re talking about here. It’s like skydiving without a parachute, except way cooler. And just when you thought it couldn’t get any better, the cinematic introduces the title of the game.
Once your vertigo kicks in, it’s time to hit that R button and accelerate your drop into the water below.
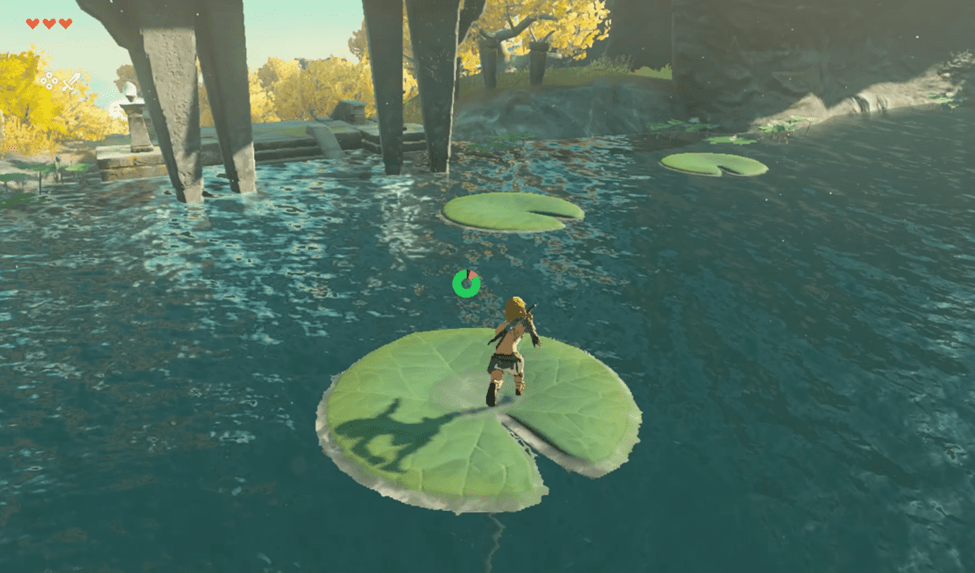
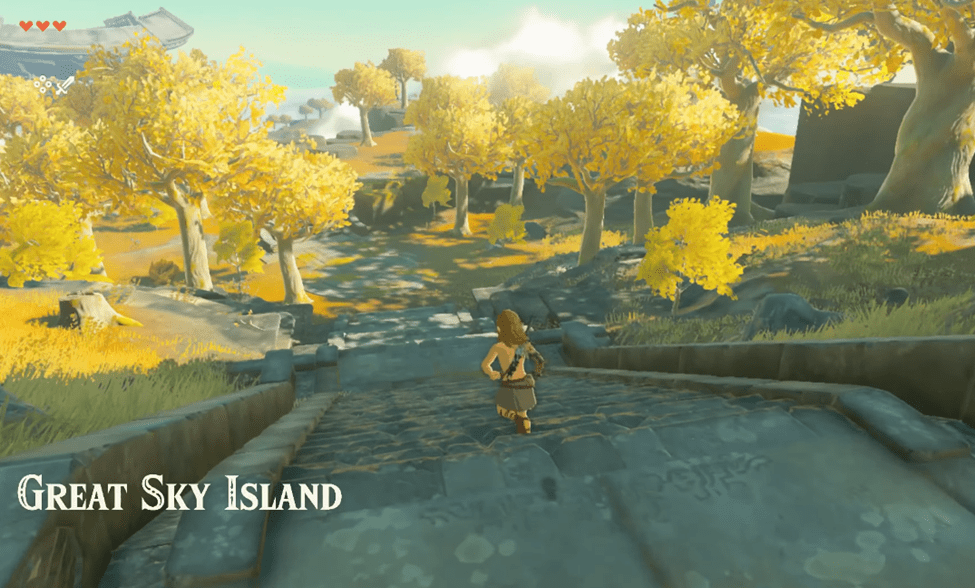
Once you can start moving, swim to the stairs and make your way down the steps, where you’ll find yourself in a location called the Great Sky Island.
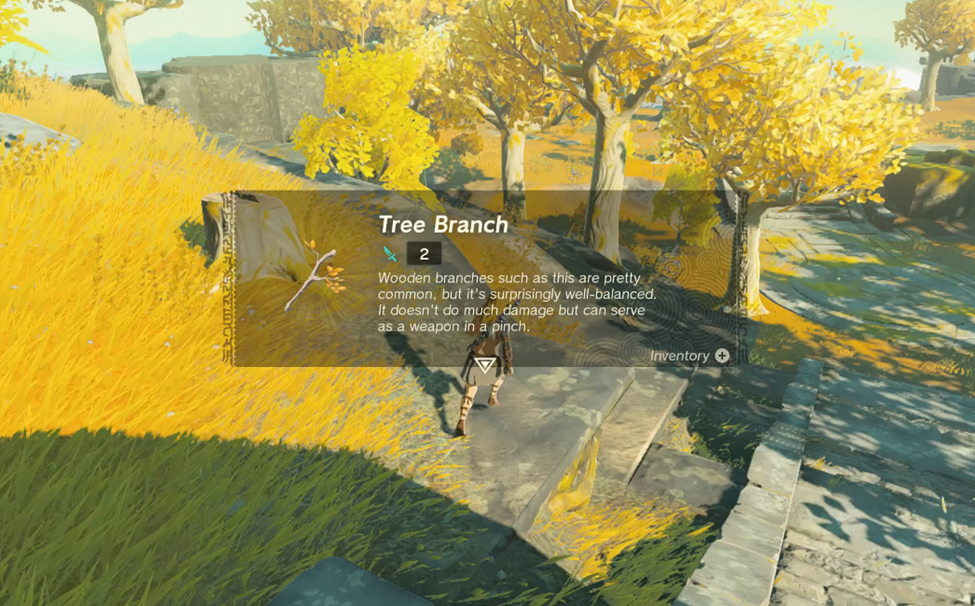
As you make your way through the world of Zelda, you’ll come across a trusty tree branch that’ll become your new (temporary) best friend. You can actually use that branch as a weapon! That’s right, forget about the decayed Master Sword (pour one out for our fallen comrade) because you’ve got a new toy to play with. There are Skyshrooms nearby. These are common mushrooms that grow near the trees that Link can eat to restore health.
5 responses to “Gameplay Walkthrough Of Legend of Zelda: Tears of the Kingdom – Part One”
-

[…] [LINK] Gameplay Walkthrough Of Legend of Zelda: Tears of the Kingdom – Part One […]
LikeLike
-
[…] [LINK] Gameplay Walkthrough Of Legend of Zelda: Tears of the Kingdom – Part One […]
LikeLike
-
[…] [LINK] Gameplay Walkthrough Of Legend of Zelda: Tears of the Kingdom – Part One […]
LikeLike
-
[…] Gameplay Walkthrough Of Legend of Zelda: Tears of the Kingdom – Part One […]
LikeLike
-
[…] Gameplay Walkthrough Of Legend of Zelda: Tears of the Kingdom – Part One […]
LikeLike

Leave a reply to Gameplay Walkthrough Of Legend of Zelda: Tears of the Kingdom – Part Five – Zelda Tips Cancel reply