
- [LINK] Gameplay Walkthrough Of Legend of Zelda: Tears of the Kingdom – Part One
- [LINK] Gameplay Walkthrough Of Legend of Zelda: Tears of the Kingdom – Part Two

At this point in the Legend of Zelda: Tears of the Kingdom walkthrough, you know that your next step in your quest is to find the missing Zelda located within the hallowed halls of the Temple of Time. And now, lo and behold, we find ourselves standing at the very steps of this sacred temple. It sounds a little too good to be true, right?
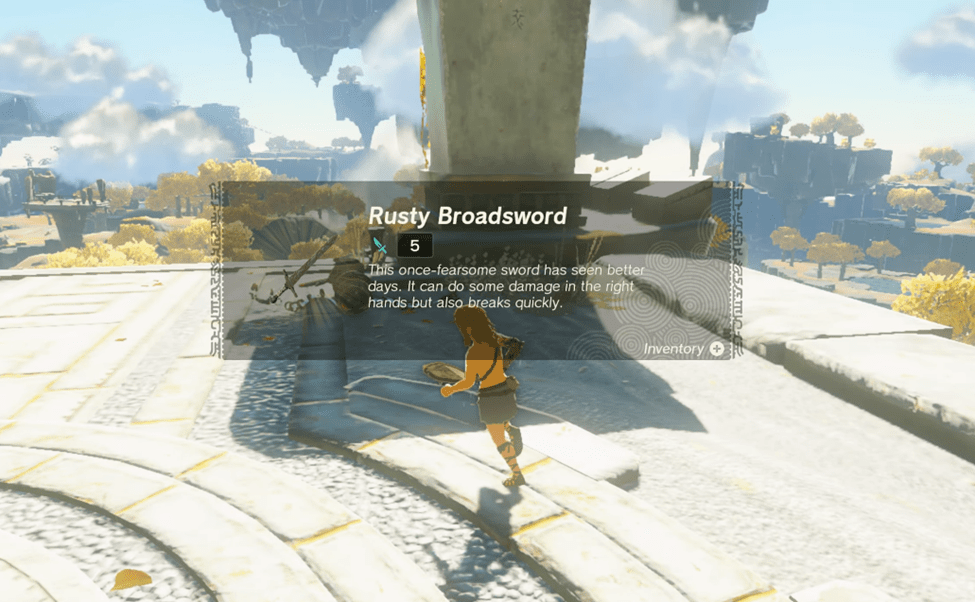
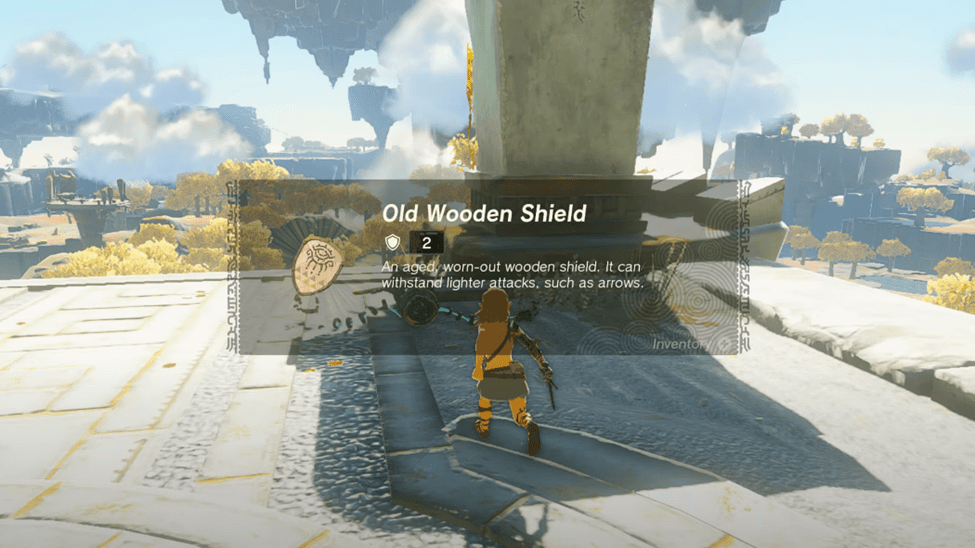
It sounds too good to be true, especially seeing as there’s only one soldier construct in your way. Defeat the lone construct to obtain a Rusty Broadsword and an Old Wooden Shield.
Now that you’ve defeated the Soldier Construct, there’s nothing standing in your way of examining the entrance to the Temple of Time in Tears of the Kingdom.
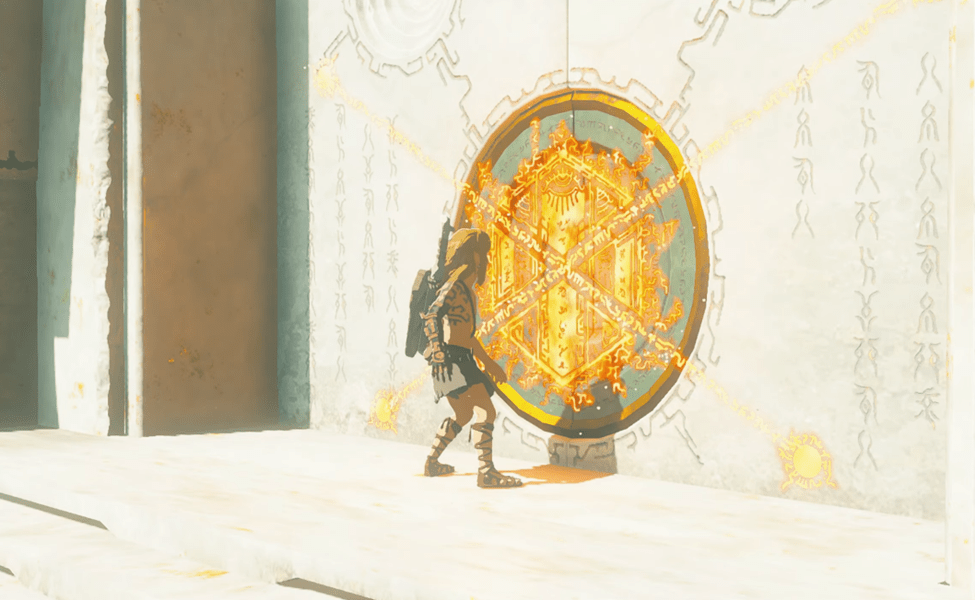
Unfortunately, there is something standing between you and the Tears of the Kingdom Temple of Time…a door. It appears that fate has other plans for us and we must find another way to breach the seemingly impenetrable barrier.
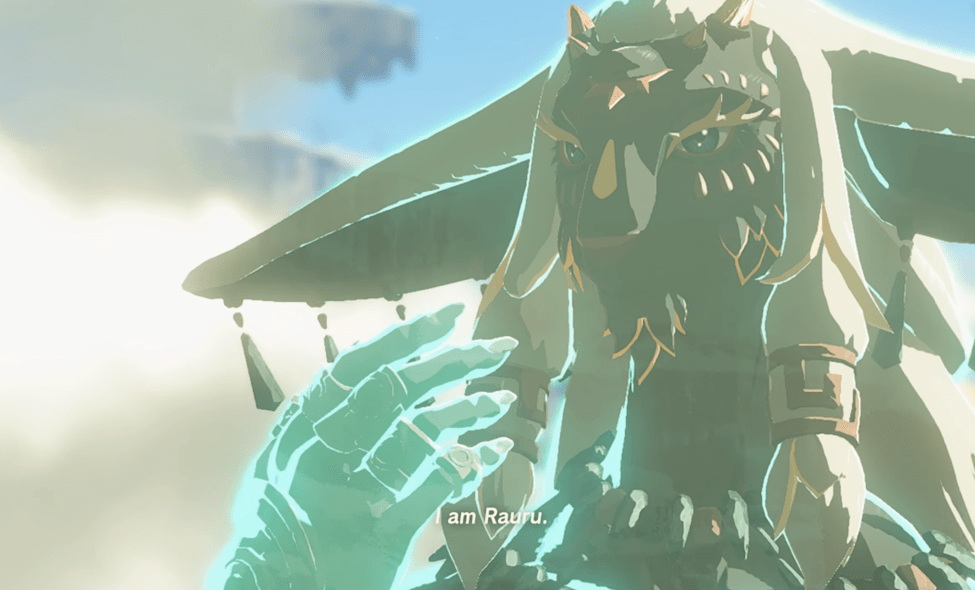
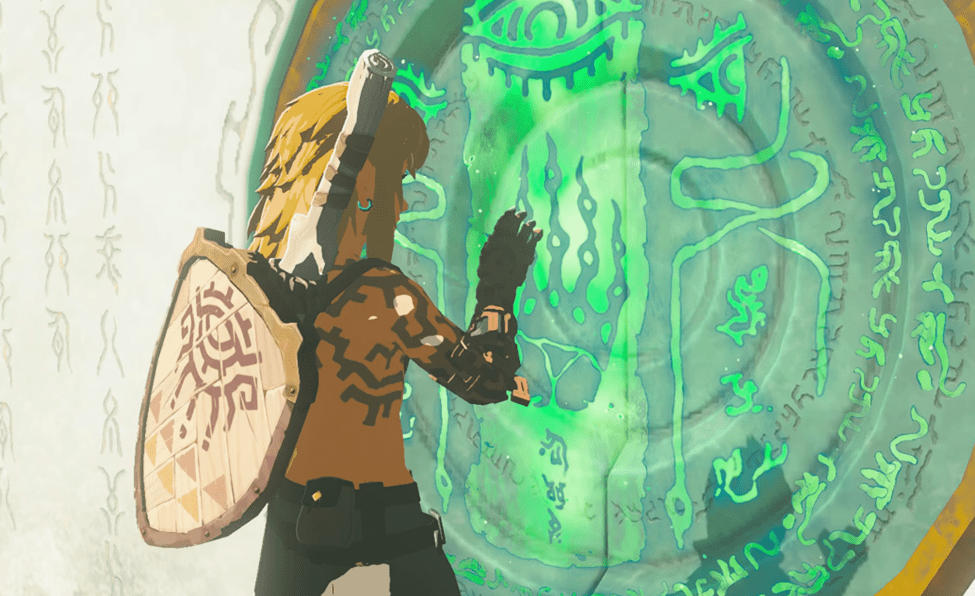
A ghostly figure by the name of Rauru has appeared, taking credit for the voiceover that left us wondering after Link and Zelda parted ways, to put it nicely. Rauru has appeared to take credit for giving Link the arm that saved his life, but not Zelda’s. Thanks for the body part, I guess? Unfortunately, our newfound appendage isn’t quite strong enough to grant us access to the Temple of Time just yet. Fortunately, in true Zelda fashion, it’s only a little detour to get passed a simple door.
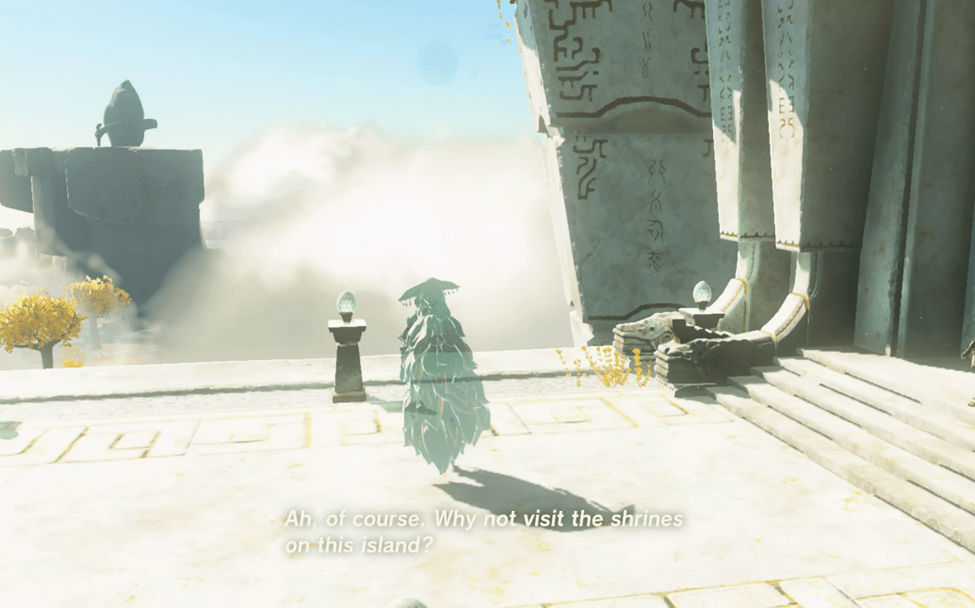
The shrines are the key to unlocking the powers in Tears of the Kingdom. For now, there’s no way of getting into the Temple of Time yet.


A new objective appears when you open the Adventure Log: The Closed Door.
“When you tried to open the door to the Temple of Time, Rauru appeared and said he was the original owner of your new arm. He also said you need to revitalize the arm so the power of its touch will open the door. To do that, visit the island’s shrines. A green light spirals above.”
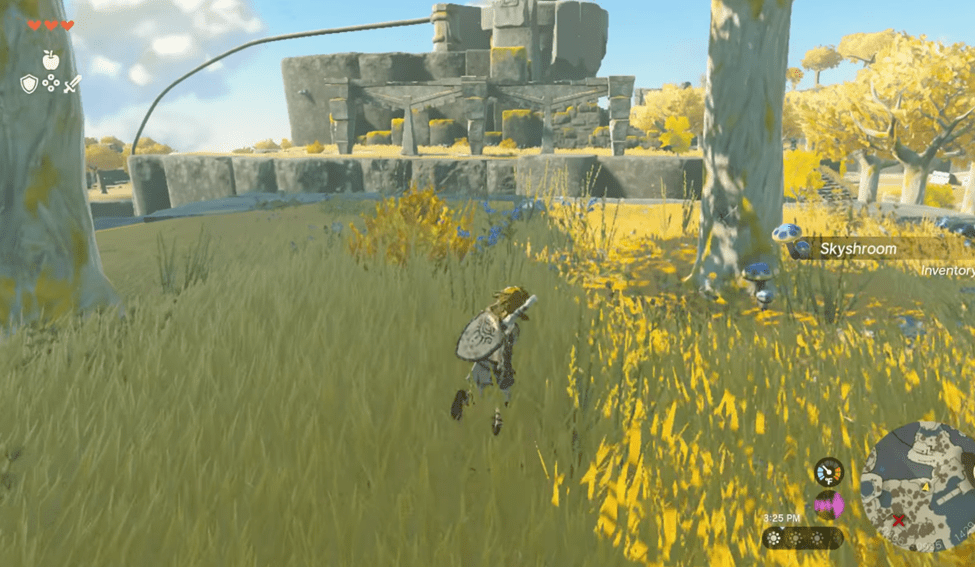
Head in the direction of the first shrine. Make sure to pick up any Skyshrooms along the way.
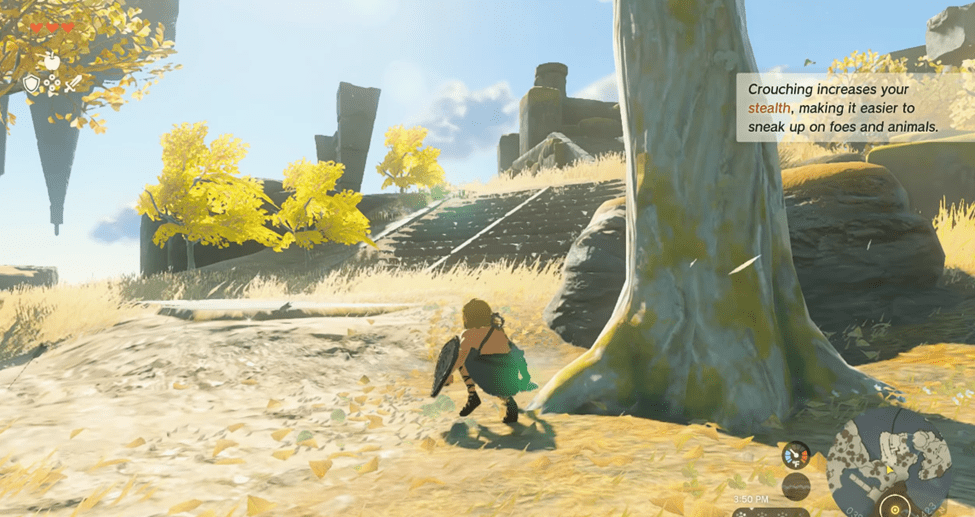
The Legend of Zelda: Tears of the Kingdom has a crouching mechanic. Crouching increases your stealth, making it easier to sneak up on foes and animals.
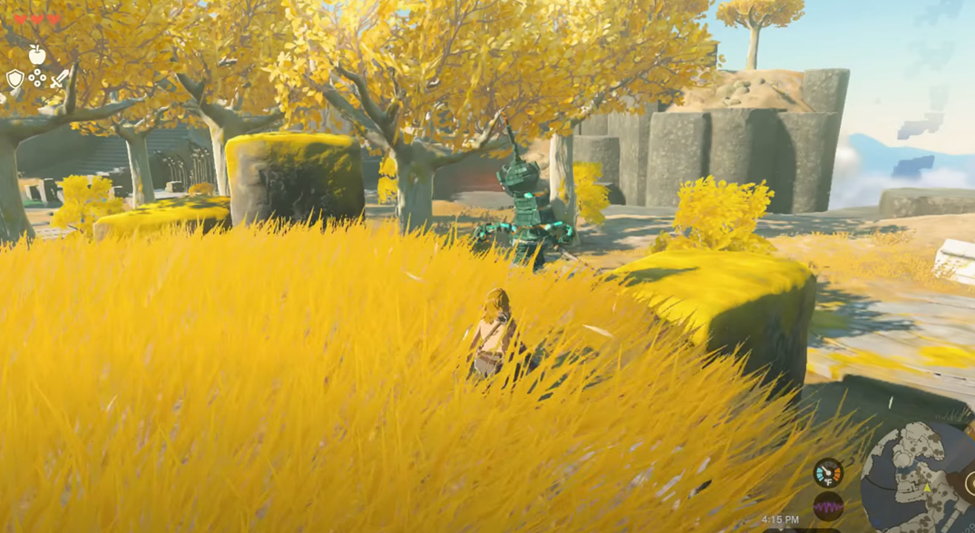
With your newfound skill, what better way to put it to the test than by taking down an innocent creature that’s simply doing its job of protecting its land? It’s a tough call, but the fate of Zelda hinges on Link’s bloodlust, apparently. Land a critical hit on that Soldier Construct.

After defeating the poor innocent Soldier Construct, you’ll obtain a Wooden Bow. A wooden Bow from the olden days. It’s built for hunting, but it’s not very powerful.
The key to maximizing your bow damage in Tears of the Kingdom lies in your ability to aim with precision. You see, a simple body shot may do the trick, but a well-placed arrow to the head? Now that’s where the real critical damage lies. So take a deep breath, steady your hand, and let that arrow fly straight and true toward your target.
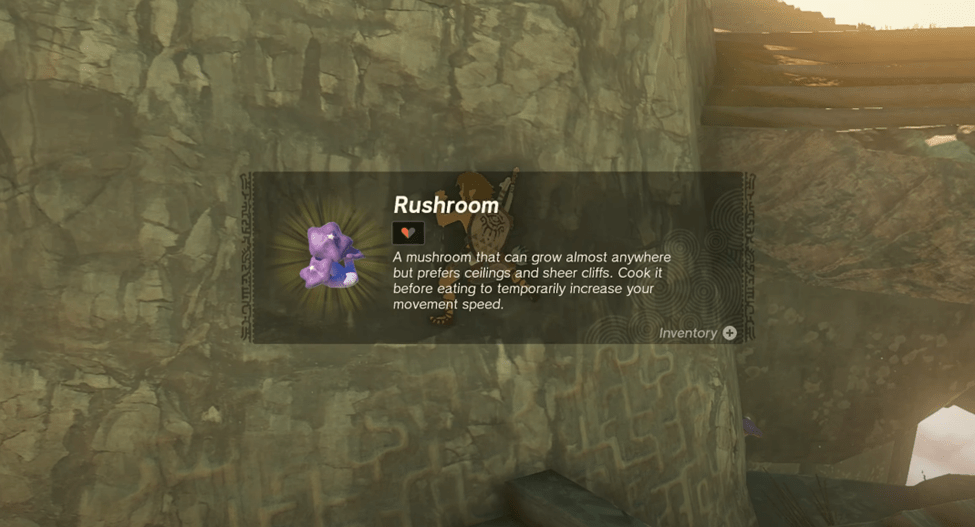
As you make your way up toward the shrine, you’ll see some Rushrooms growing on the walls.
“A mushroom that can grow almost anywhere but prefers ceilings and sheer cliffs. Cook it before eating to temporarily increase your movement speed.”
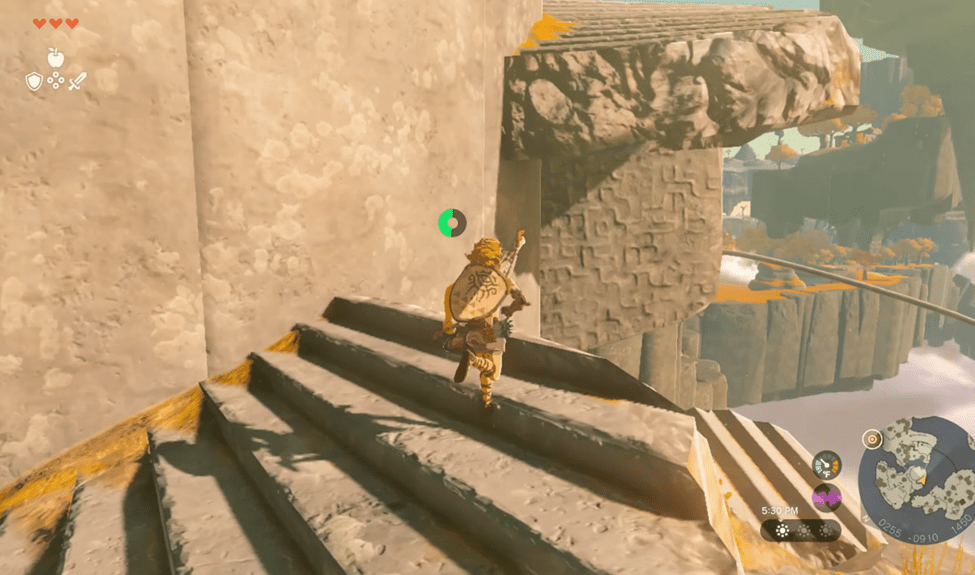
You will see a few gaps between the broken staircases, but you won’t need to make the jump to clear the gap. Just continue to scale the wall to the next staircase.
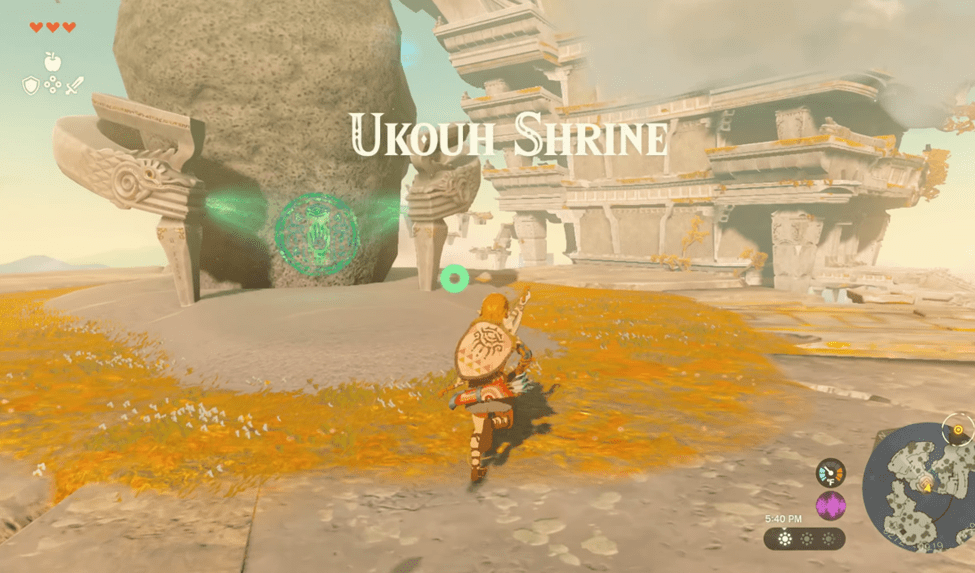
When you get to the top, you’ll be at Ukouh Shrine. Continue reading for the Ukuoh Shrine guide in Legend of Zelda: Tears of the Kingdom.
One response to “Gameplay Walkthrough Of Legend of Zelda: Tears of the Kingdom – Part Three”
-

[…] Gameplay Walkthrough Of Legend of Zelda: Tears of the Kingdom – Part Three (Ukouh Shrine) […]
LikeLike

Leave a reply to Gameplay Walkthrough Of Legend of Zelda: Tears of the Kingdom – Part Five – Zelda Tips Cancel reply