
- Gameplay Walkthrough Of Legend of Zelda: Tears of the Kingdom – Part One
- Gameplay Walkthrough Of Legend of Zelda: Tears of the Kingdom – Part Two
- Gameplay Walkthrough Of Legend of Zelda: Tears of the Kingdom – Part Three (Ukouh Shrine)
Ukuoh Shrine was just one of the many mysterious shrines scattered throughout the land in Tears of the Kingdom. As you approached the entrance, you felt a sense of foreboding emanating from within. The shrine’s intricate design and ancient architecture hint at its rich history while you face a series of challenging puzzles and obstacles that will test your skills and wit to the limit. Getting to the end allowed you to unlock new abilities and tools that will aid you on your journey to save the kingdom.

Now that you’ve completed Ukuoh Shrine in Zelda: Tears of the Kingdom, it’s time for Link to go on his next adventure. Unfortunately, you’re told that Ukuoh Shrine isn’t the only shrine you need to enter the Temple of Time.
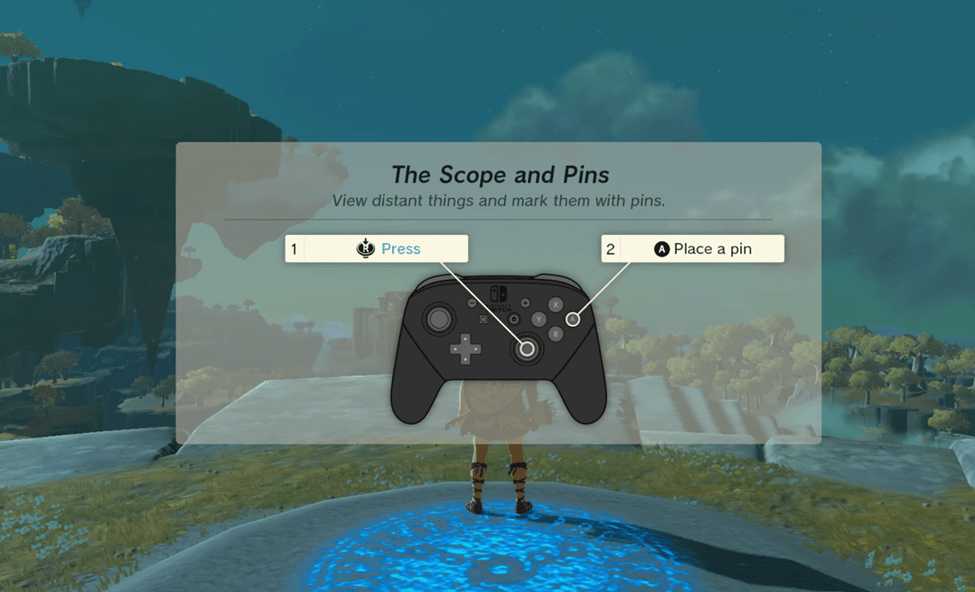
After the terrible revelation that you must continue to tackle shrines before entering the Temple of Time in Tears of the Kingdom, you will learn how to use Scope and Pins.
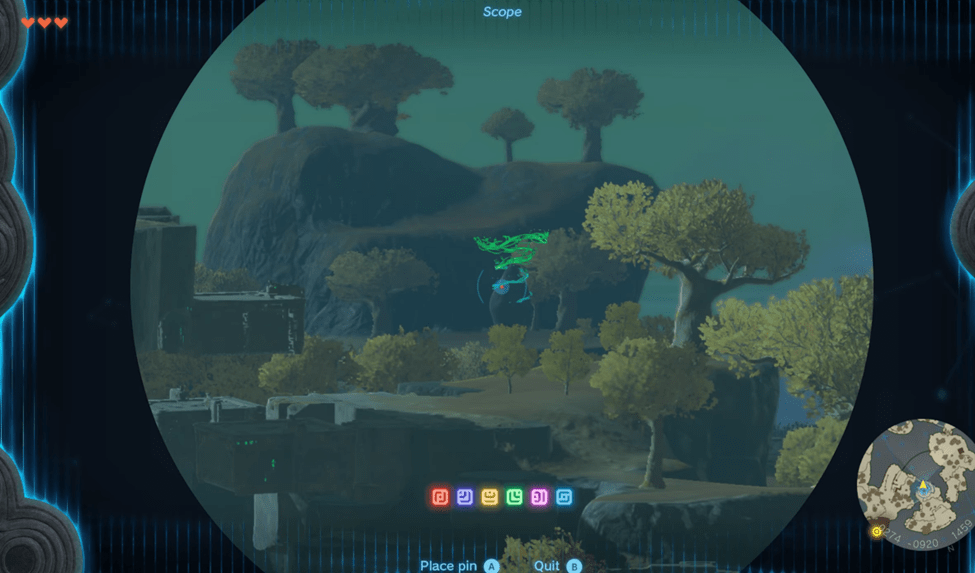
Open the scope and locate the next shrine in the distance. This also places a helpful pin on your mini-map, so you don’t need to keep opening your main map to see where you’re going.
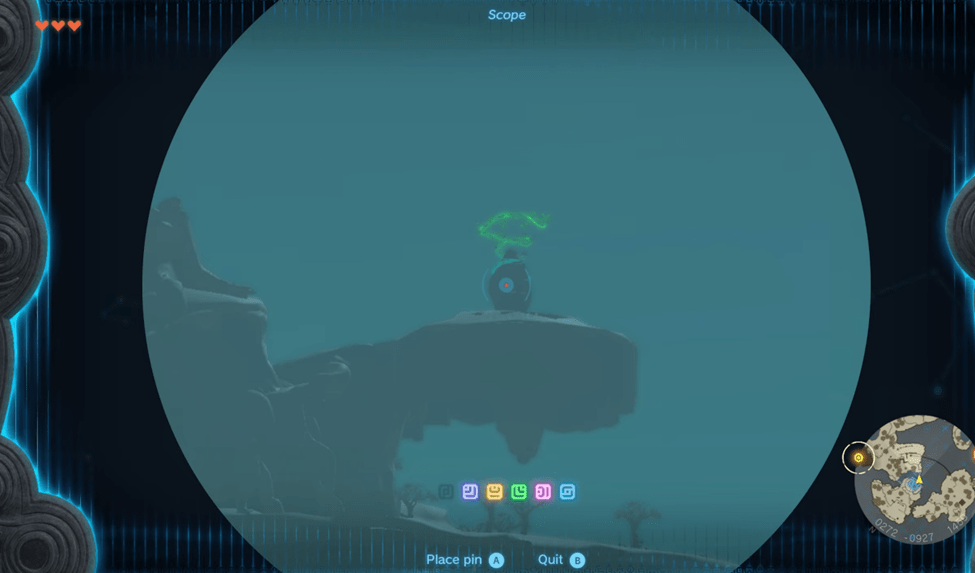
From the vantage point after Ukuoh shrine, you should be able to see both shrines with the scope.

A pile of broken wood that just so happens to resemble the perfect pieces for a bridge awaits you at the bottom of a staircase. How convenient! Piece them together, and voila – you’ve got yourself a bridge fit for a hero.
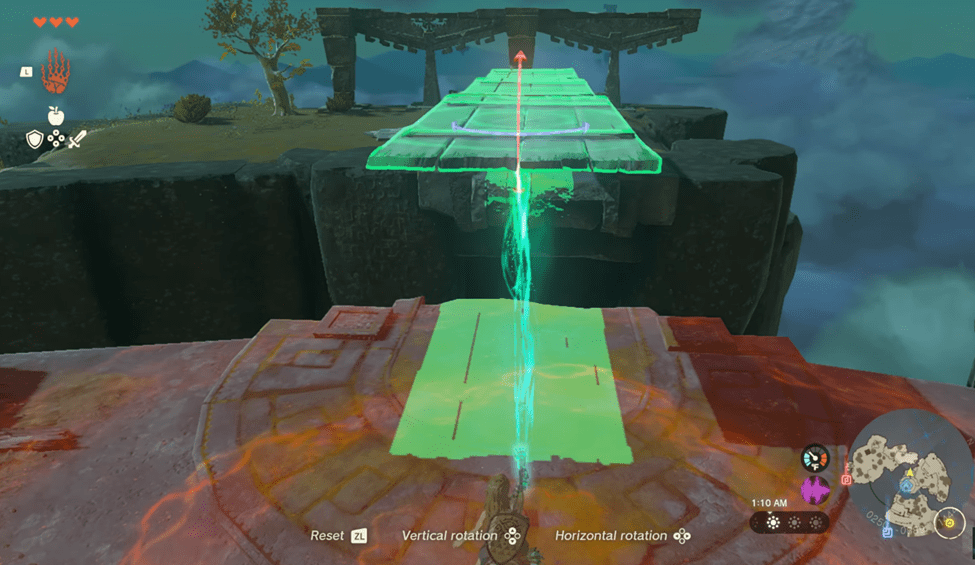
Three pieces of wood attached to each other should be enough to bridge the gap to the other island. The island will have some more planks of wood and some apples. However, there’s not much more you can do here for now, so walk back across the bridge you made and down the staircase.


Make your way to the rail line system that looks suspiciously like the ones you found in Ukuoh Shrine. You’ll also find convenient hooks and wood planks to use to ride down the rail.
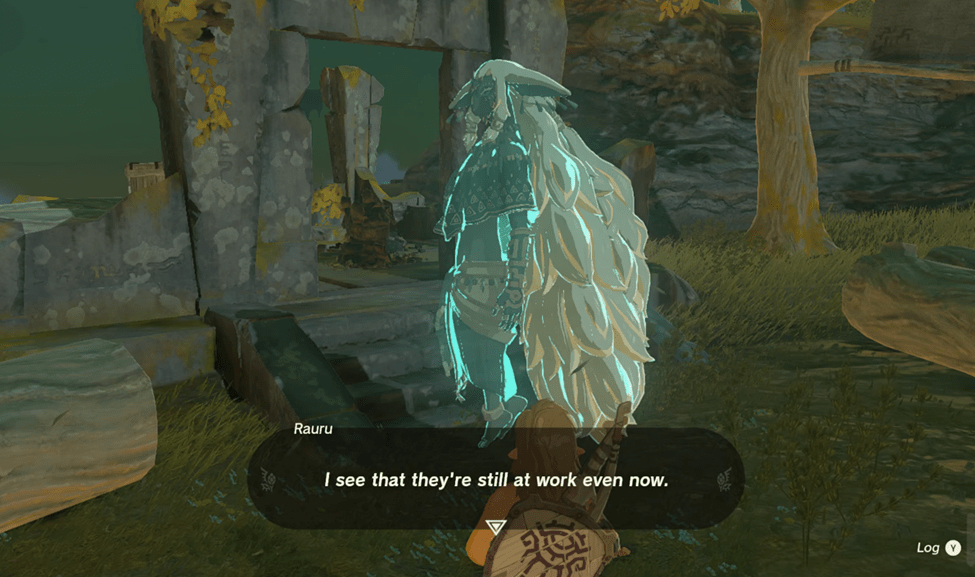
Walk a short distance from where you landed off of the platform to find Rauru again. He seems to be amazed that the constructs are still doing what they’ve been programmed to do. Go inside the dilapidated structure near Rauru to find a Zonai Charge and sticks.
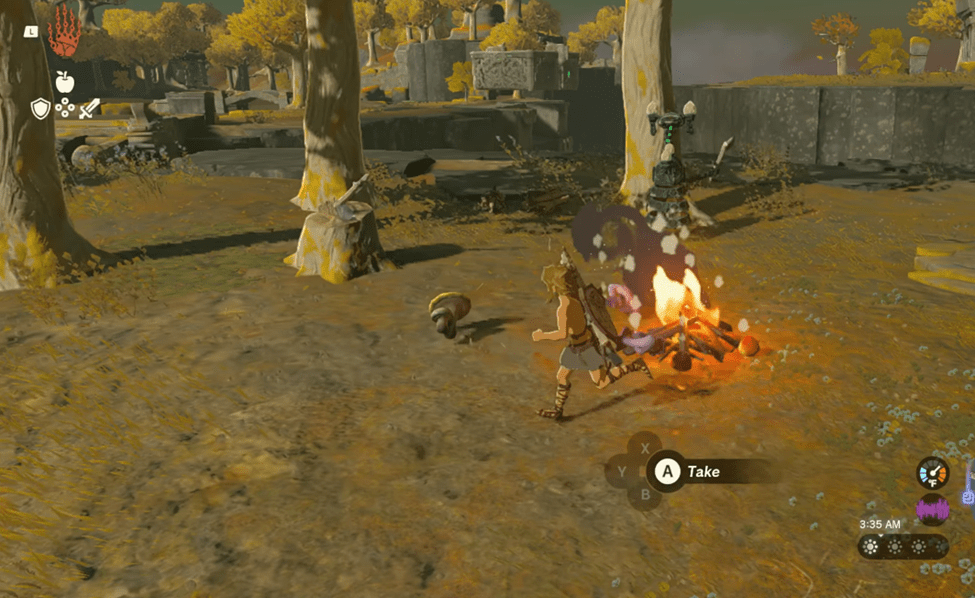
There’s a campfire nearby where you can cook all the shrooms that you’ve picked up since before Ukuoh shrine.
Ah, the sweet sound of a blade slicing through the wood – a familiar tune for any seasoned Breath of the Wild player. And now, that same woodcutting skill is making a comeback in Tears of the Kingdom.
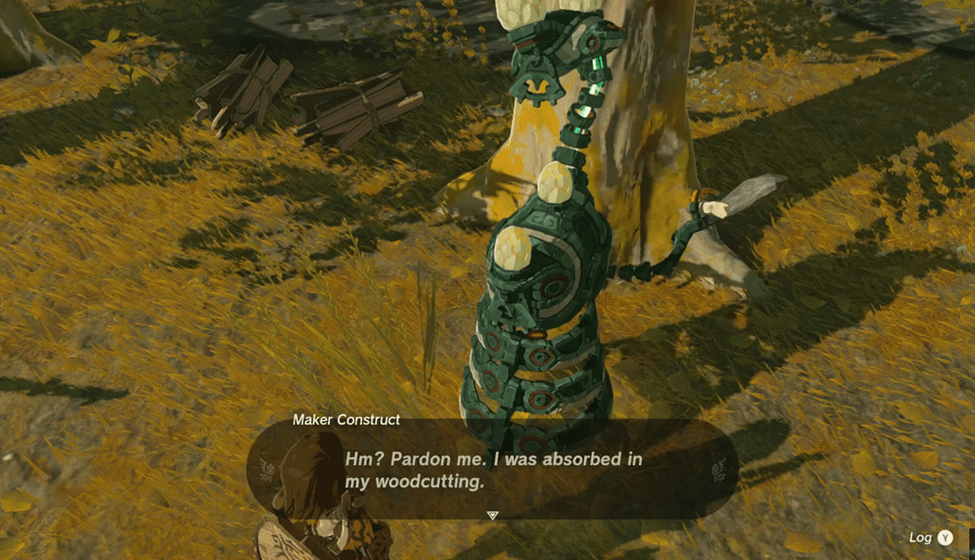
Near the campfire is a Maker Construct who is chopping down a tree. It tells you that logs can be combined to assemble platforms. You can also chop them down further to make wood. On a stump to the left of the Maker Construct is an axe you can pick up to begin your woodcutting journey.

Fortunately, you don’t need to do much woodcutting yet, as there are plenty of logs you can use to build your way to the next island.
Where do you go from here? Continue reading to Gameplay Walkthrough Of Legend of Zelda: Tears of the Kingdom – Part Five.
One response to “Gameplay Walkthrough Of Legend of Zelda: Tears of the Kingdom – Part Four”
-

[…] Gameplay Walkthrough Of Legend of Zelda: Tears of the Kingdom – Part Four […]
LikeLike
- The Legend of Zelda: Tears of the Kingdom (TOTK) Review
- Gameplay Walkthrough Of Legend of Zelda: Tears of the Kingdom – Part Five
- Gameplay Walkthrough Of Legend of Zelda: Tears of the Kingdom – Part Four
- Gameplay Walkthrough Of Legend of Zelda: Tears of the Kingdom – Part Three
- Gameplay Walkthrough Of Legend of Zelda: Tears of the Kingdom – Ukouh Shrine

Leave a reply to Gameplay Walkthrough Of Legend of Zelda: Tears of the Kingdom – Part Five – Zelda Tips Cancel reply